
Canon EOS R10 + RF 100-400mm Lens Review (How to Choose your First Camera)
Hi everyone! Since I recently bought the Canon EOS R10 camera + the RF 100-400mm lens, I thought I’d write a short review of the set along with some tips on how to choose your first camera for wildlife photography!
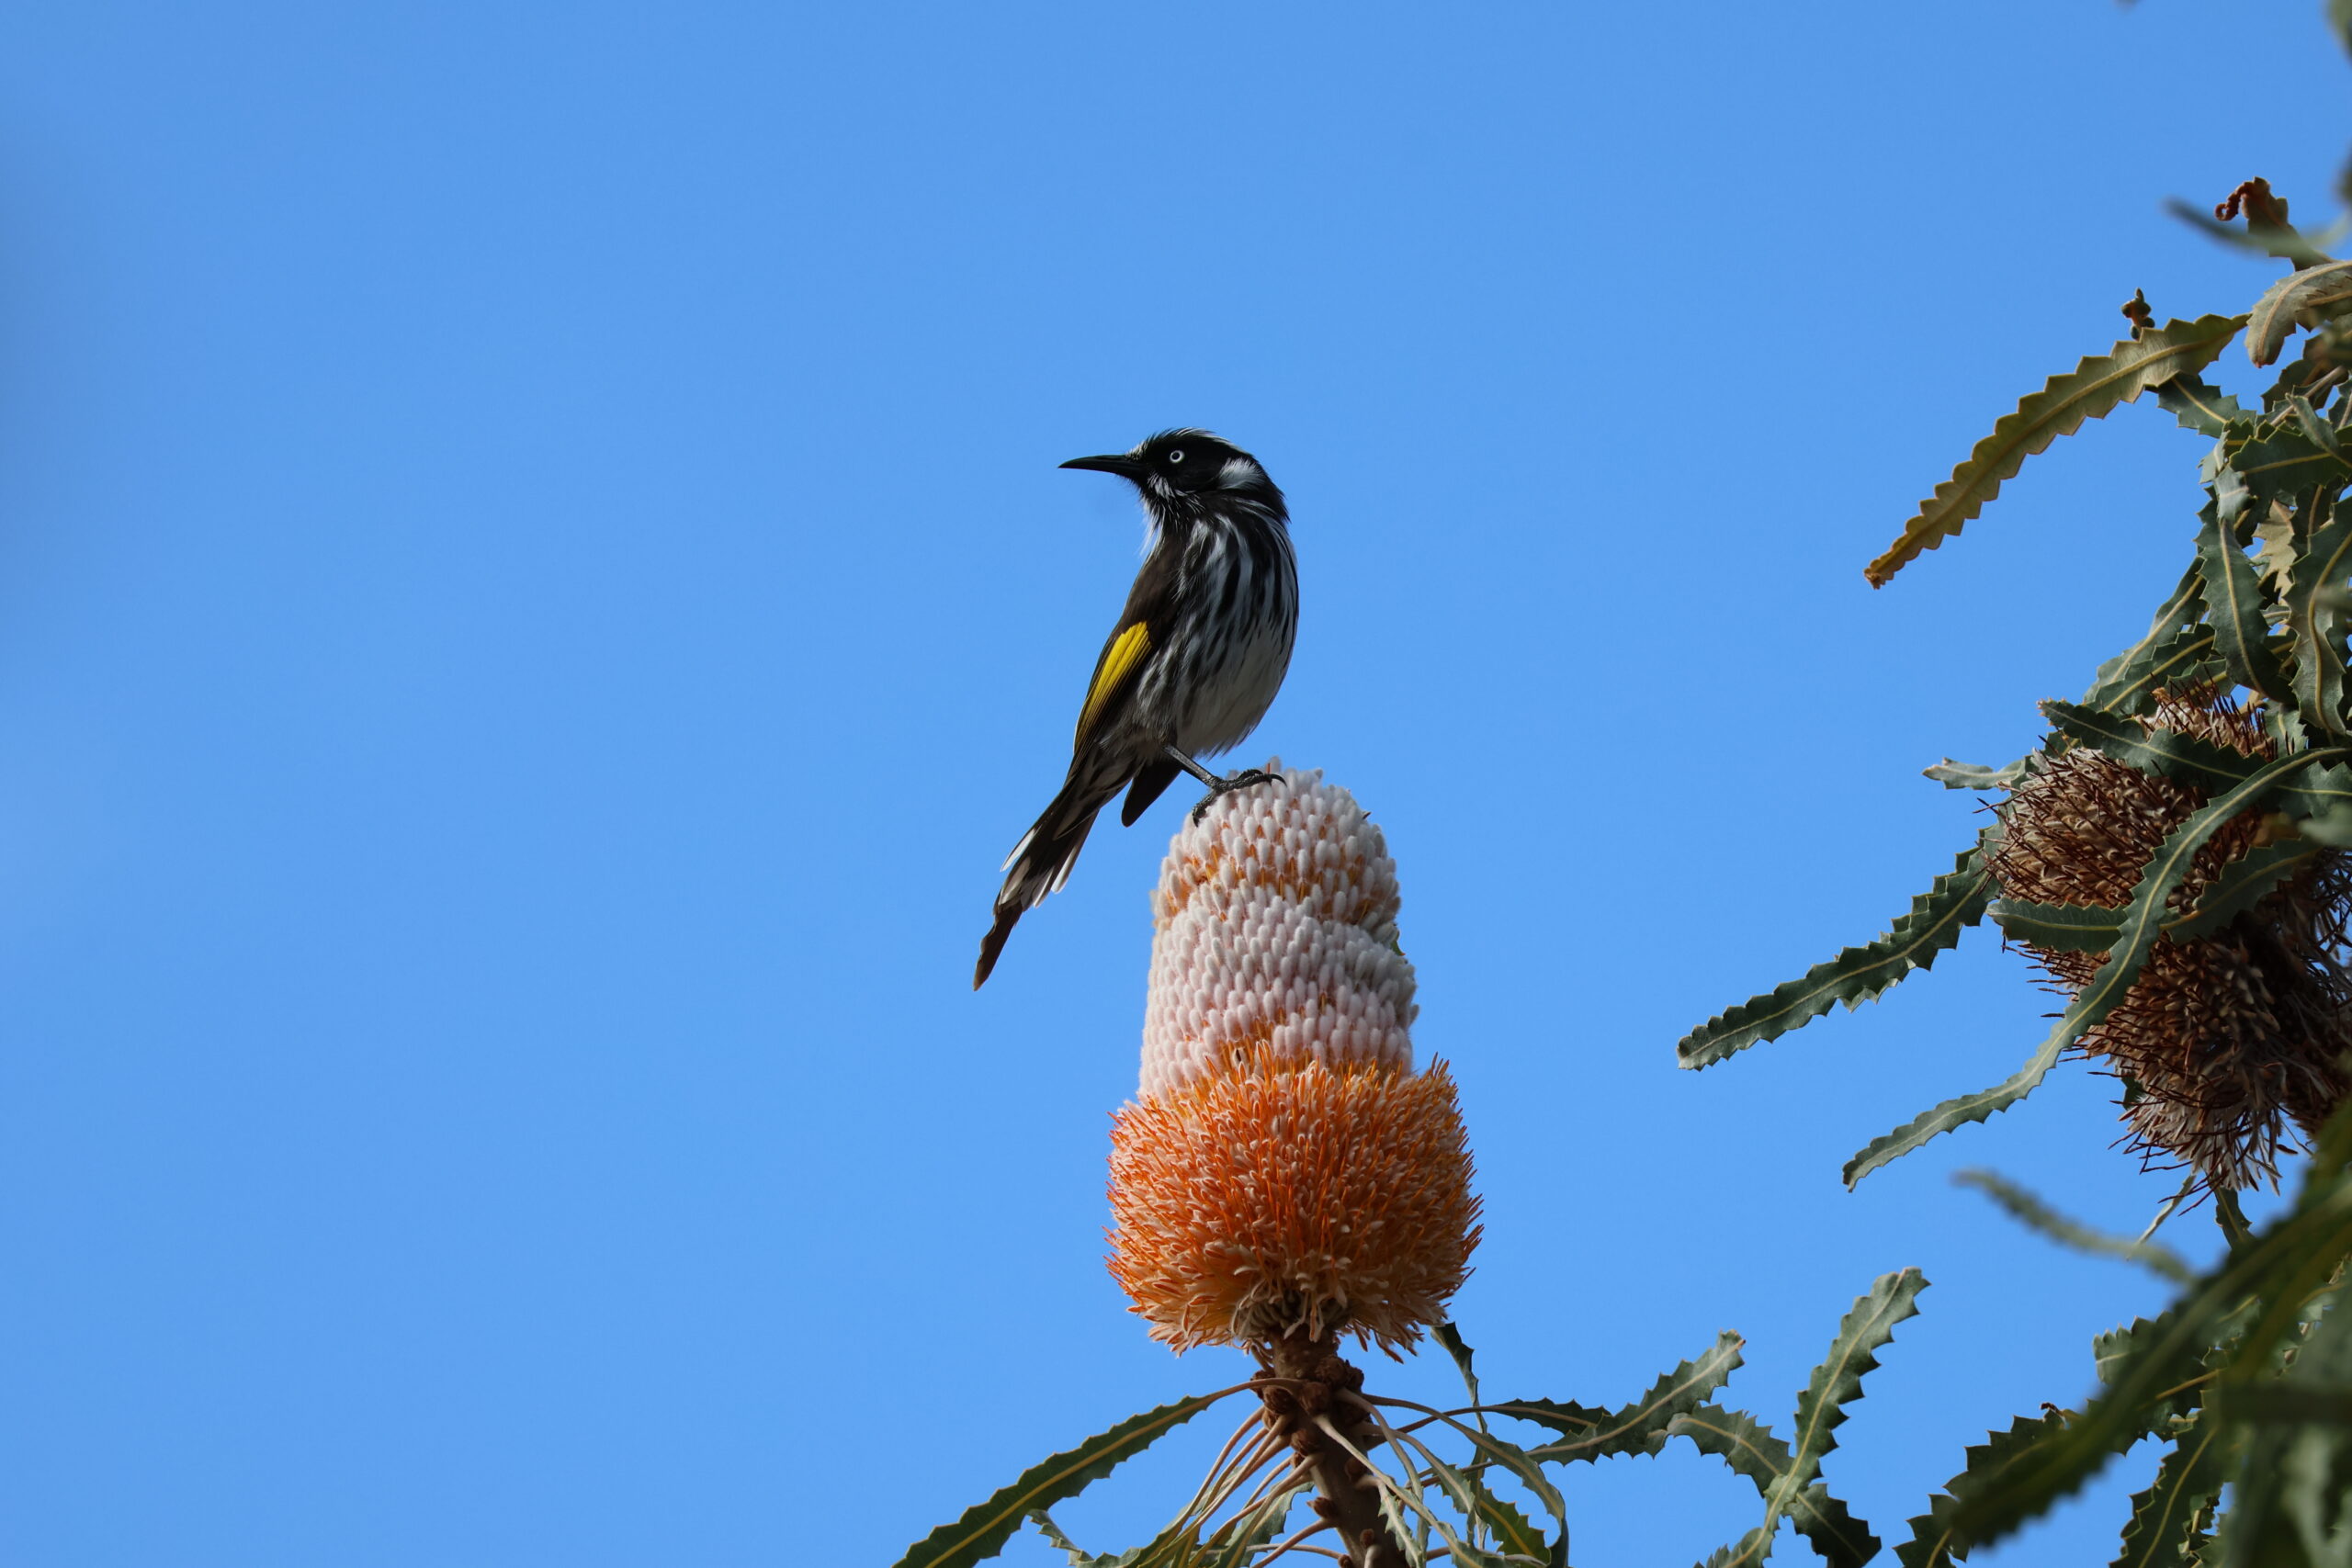
Canon EOS R10 + 100-400mm Lens Review
Camera Overview
The Canon EOS R10 is a mirrorless (not DSLR) camera which I got for around $1300 AUD. I first heard about the camera when scouting Google for an upgrade from my Canon Powershot SX740 HS.
My options were narrowed down by the fact I wanted to stick with Canon products. Around this time, I also learnt about the distinction between Mirrorless cameras and DSLR cameras – and decided to go with mirrorless. I’ll get into the reasons why near the end of the post.
With that, I was left with two options: the Canon R10 and the Canon R7. I ultimately chose R10 because it was less expensive, and the features of the R7 weren’t worth the extra money, especially since I just do photography for fun right now.
I started off with the RF-S 18-45mm lens (an extra $500 AUD or so) before upgrading to the RF 100-400mm (~$900 AUD) because I needed better zoom. The 100-400 lens came up a lot when I was looking at photos taken with the R10 online, and knew those were the kinds of photos I wanted to take.
Below, I’ve created a list of what I was looking for in a camera and then I’ll explain how well the Canon R10/100-400mm suited me.
- Zoom was a big priority since my favourite things to photograph are animals, planes and other things I can’t normally see close-up.
- I usually take photos during the day or sunset at latest.
- Good image quality was important because I like using my photos as wallpapers, collages, etc. and sharing them with others.
- Had to be compact/travel-friendly. I’m more of an “opportunistic” photographer (walking around with the camera in my bag in case I see a good photo opportunity) rather than having dedicated photography sessions.
- Price had to be within or under $2500 for the full set.
If you identify with the above, I think anything more expensive than the R10 or R7 would be overdoing it. With that being said, this is how I would rate the Canon R10/100-400mm on these points:
Zoom
So far, the 100-400mm zoom has been just right for me. While it’s not a “superzoom” like my previous camera (Powershot), it’s guaranteed to get you close up to birds, planes, the moon, and even insects! Just make sure you’re prepared to handle a really long lens.
Note: before I got the 100-400mm, I started off with the 18-45mm. While that lens definitely didn’t fit my zoom needs, I still use it for landscape and portrait shots. So unless you know you’ll only be doing zoom, I think it’s handy to have a regular lens around for those wider shots.
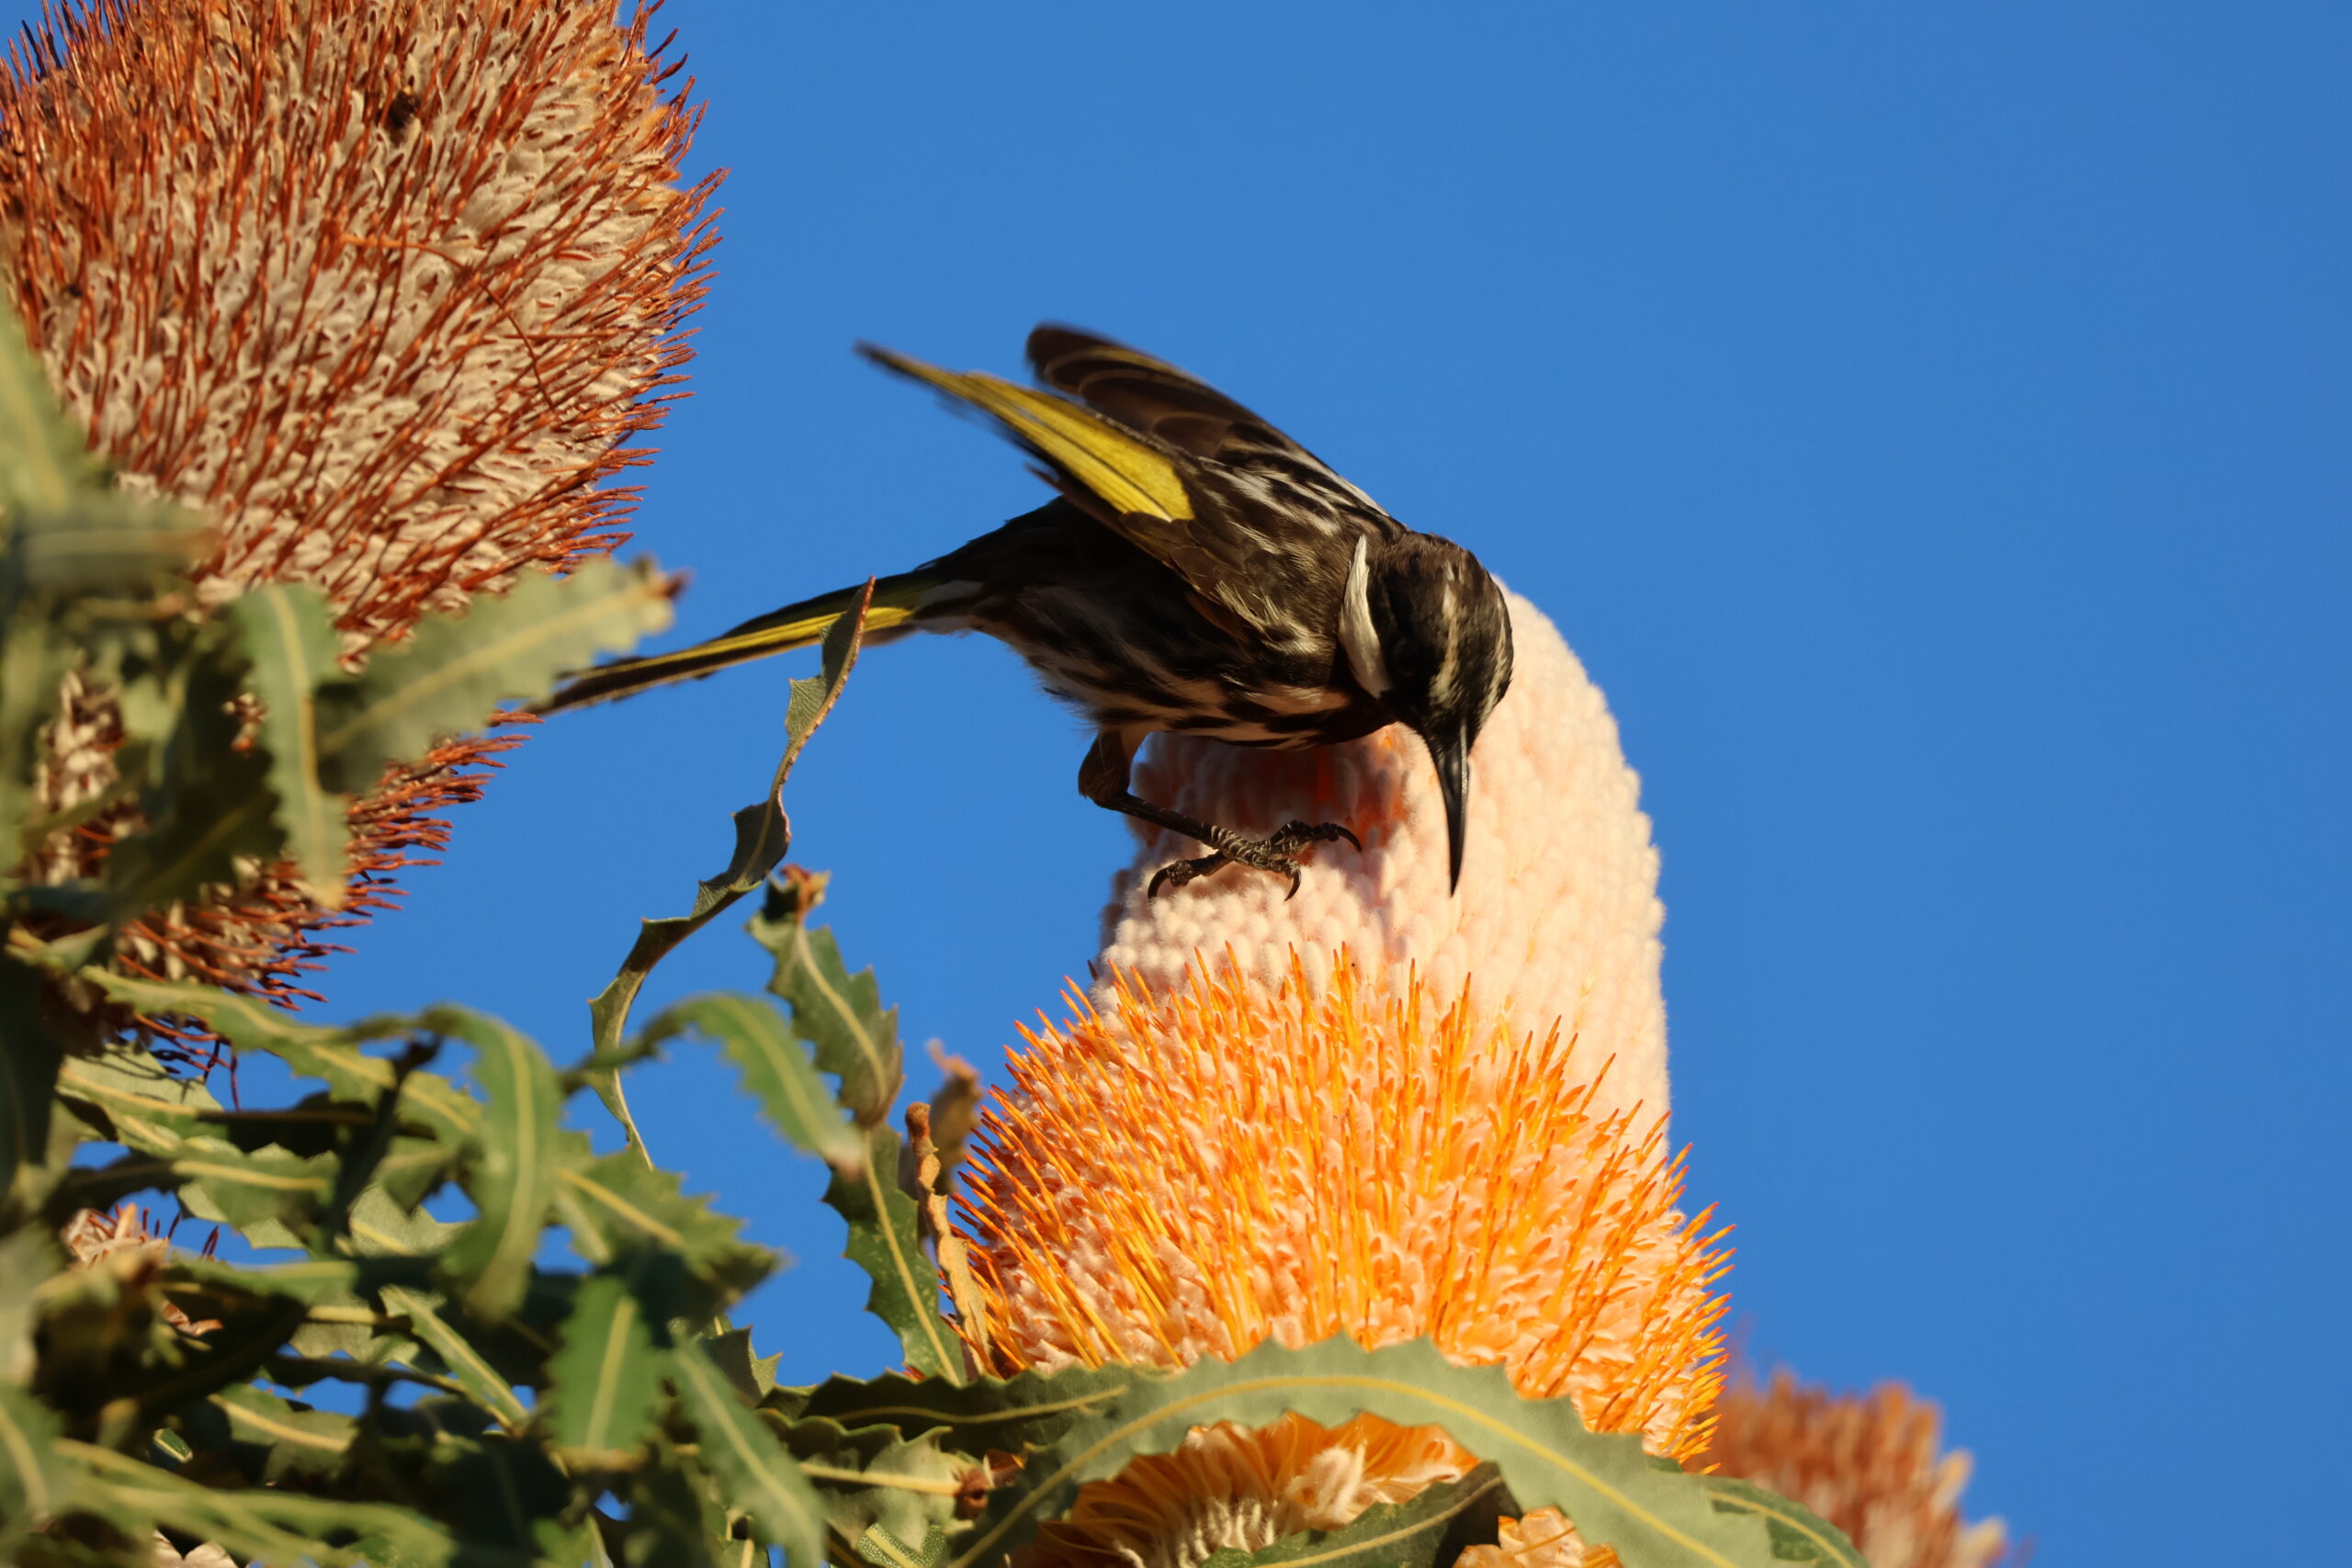
Lighting conditions
I mostly take photos during the day so I don’t have too much experience with low light, but if you spend some time playing around with the settings, the R10 can be decent at it. However, it’s not the main focus of the camera and it wouldn’t be my first recommendation to somebody who specialises in night photography.
It still takes some pretty amazing photos of the moon though, which is always a plus for me.
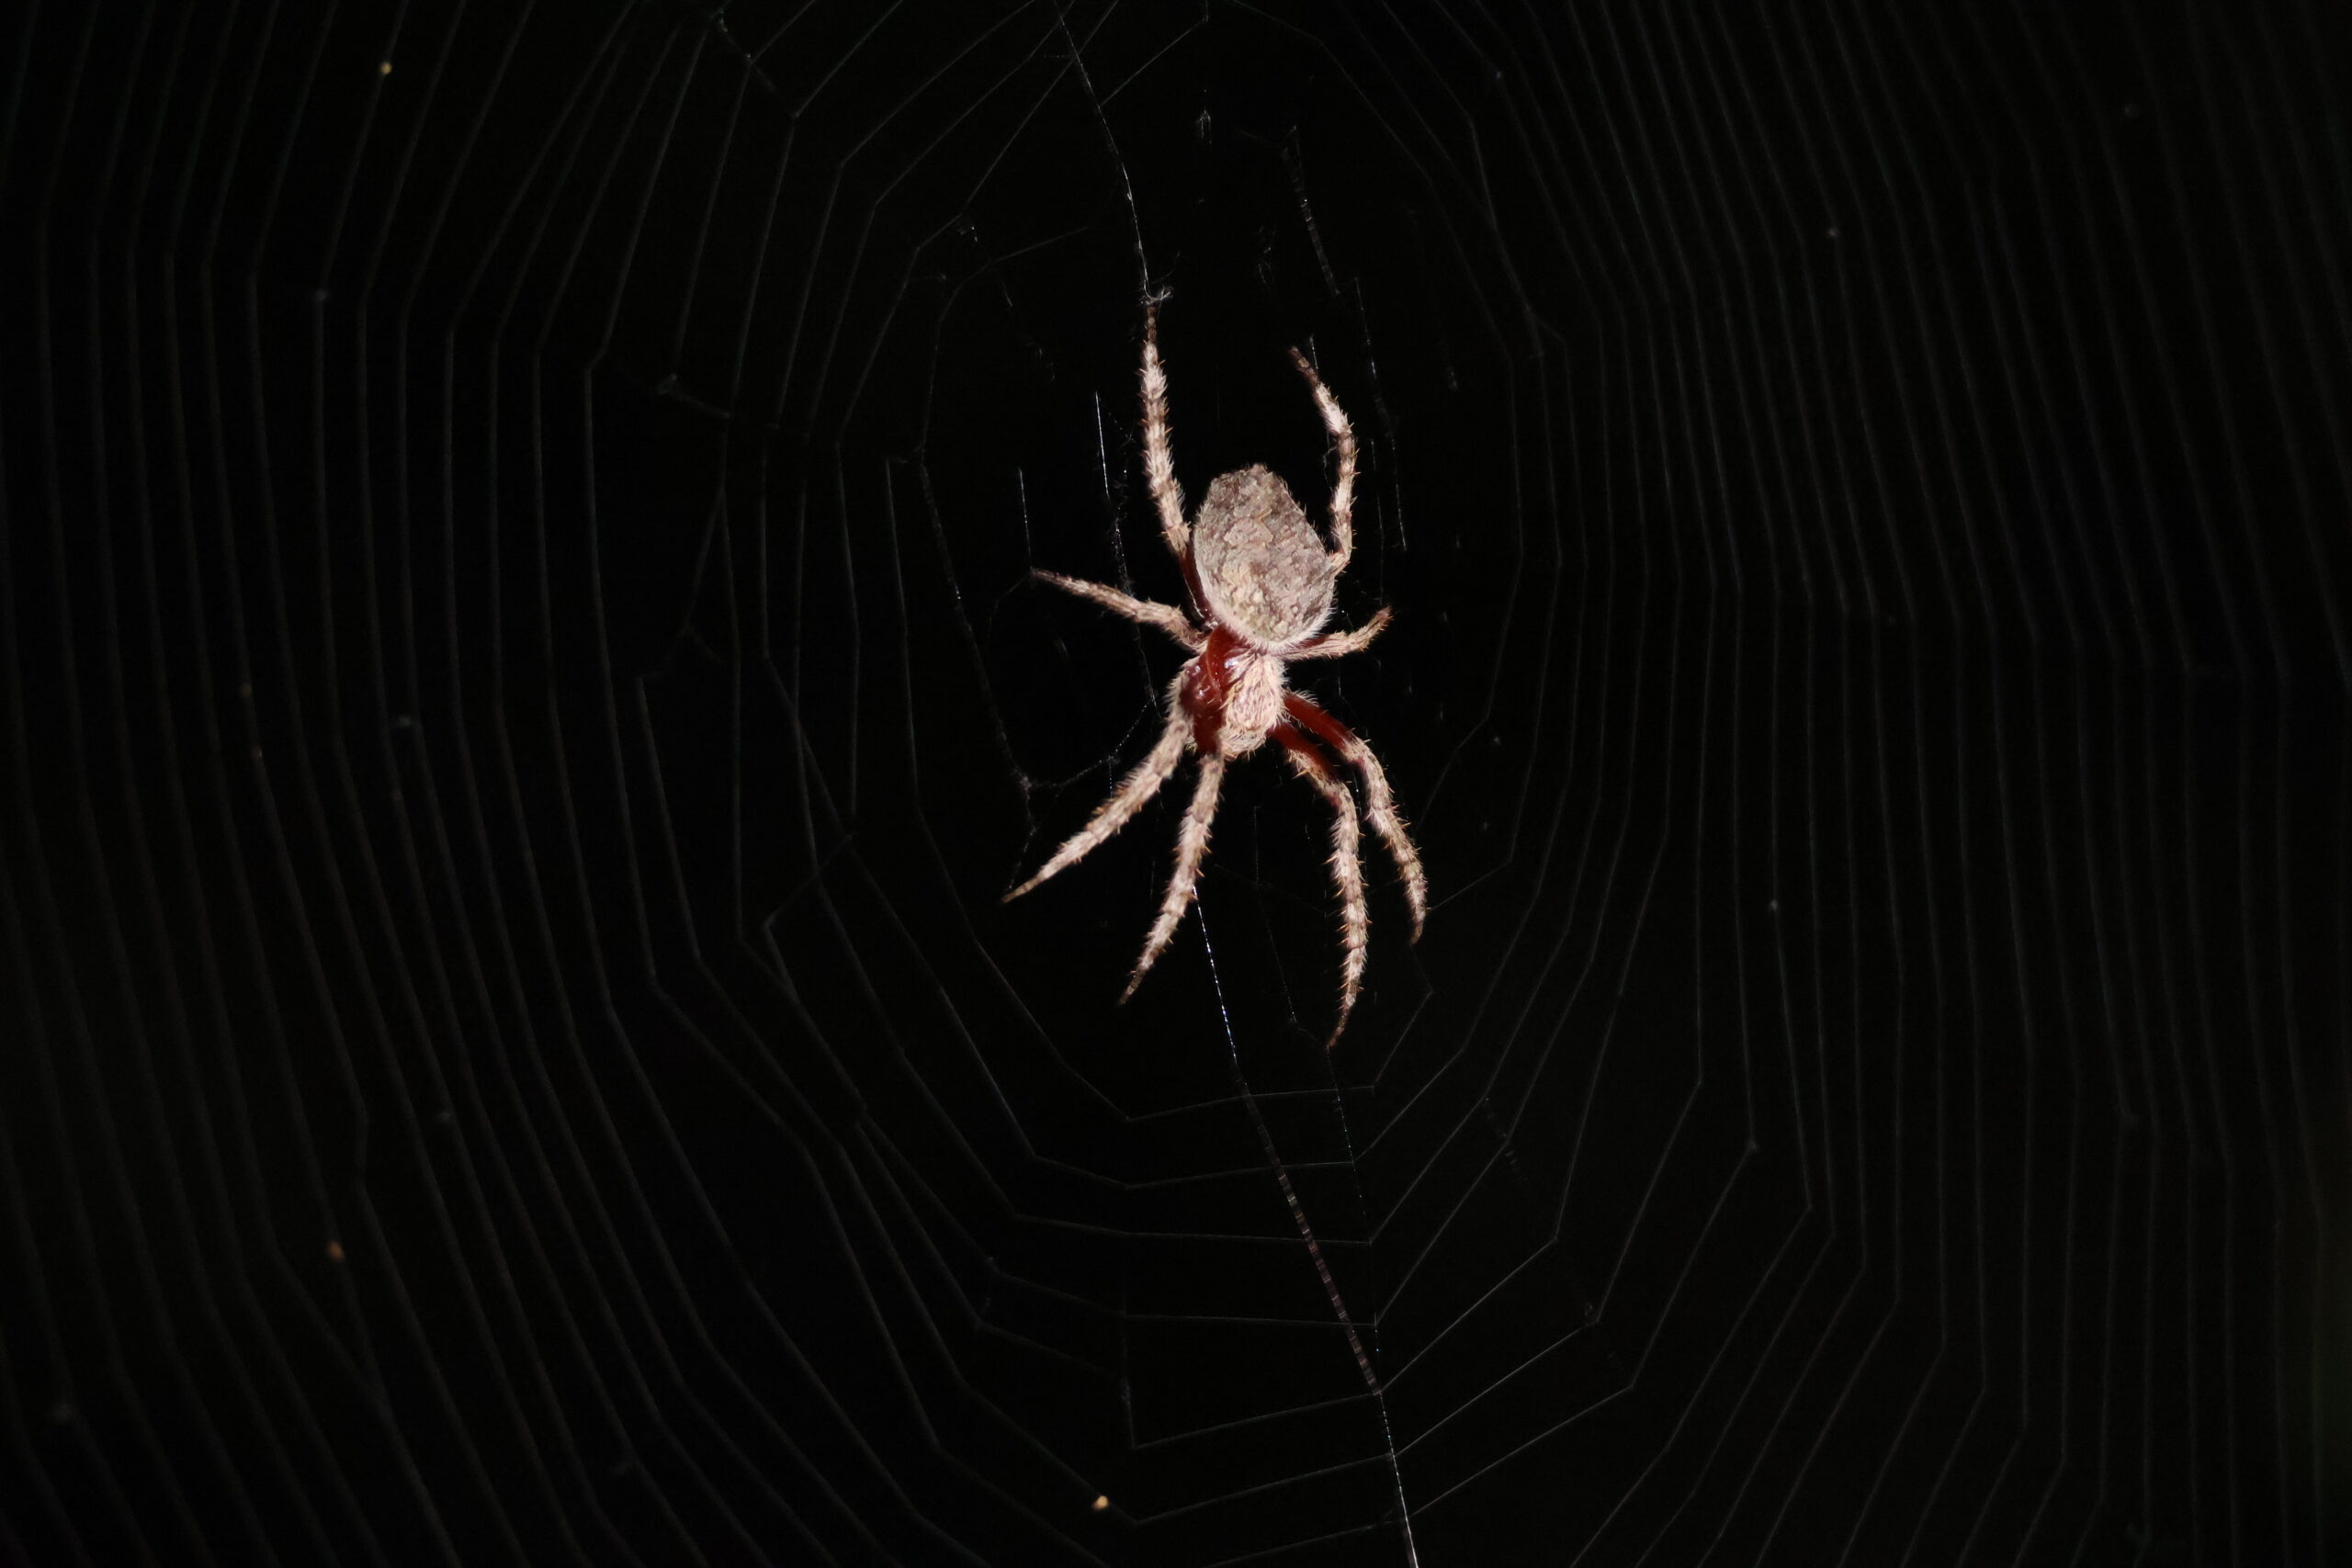
Image Quality
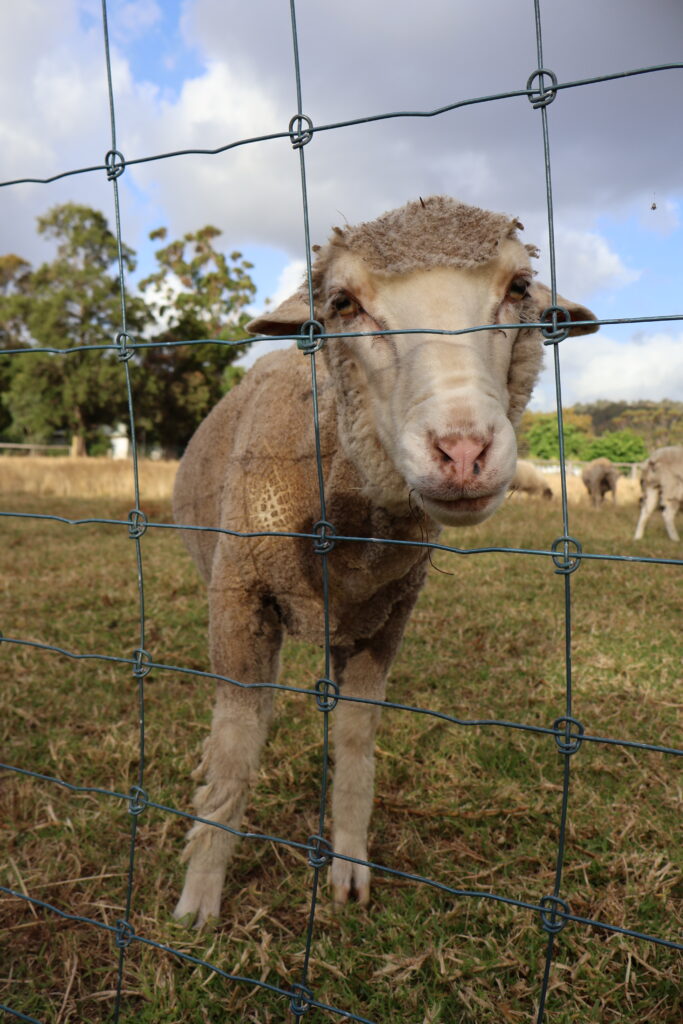
Image quality was a big reason why I decided to upgrade from the Powershot. While the photos it took were far from low-quality, I was looking to take crisp, detailed renders of the subject, with a creamy blur in the background. The Canon R10 definitely gave me that option as you can see here!
Of course, image sharpness depends on many factors, like the lighting conditions, whether the subject is static or moving, the settings, the skill of the photographer, and post-processing/editing afterwards. But this camera has the potential for very detailed shots.
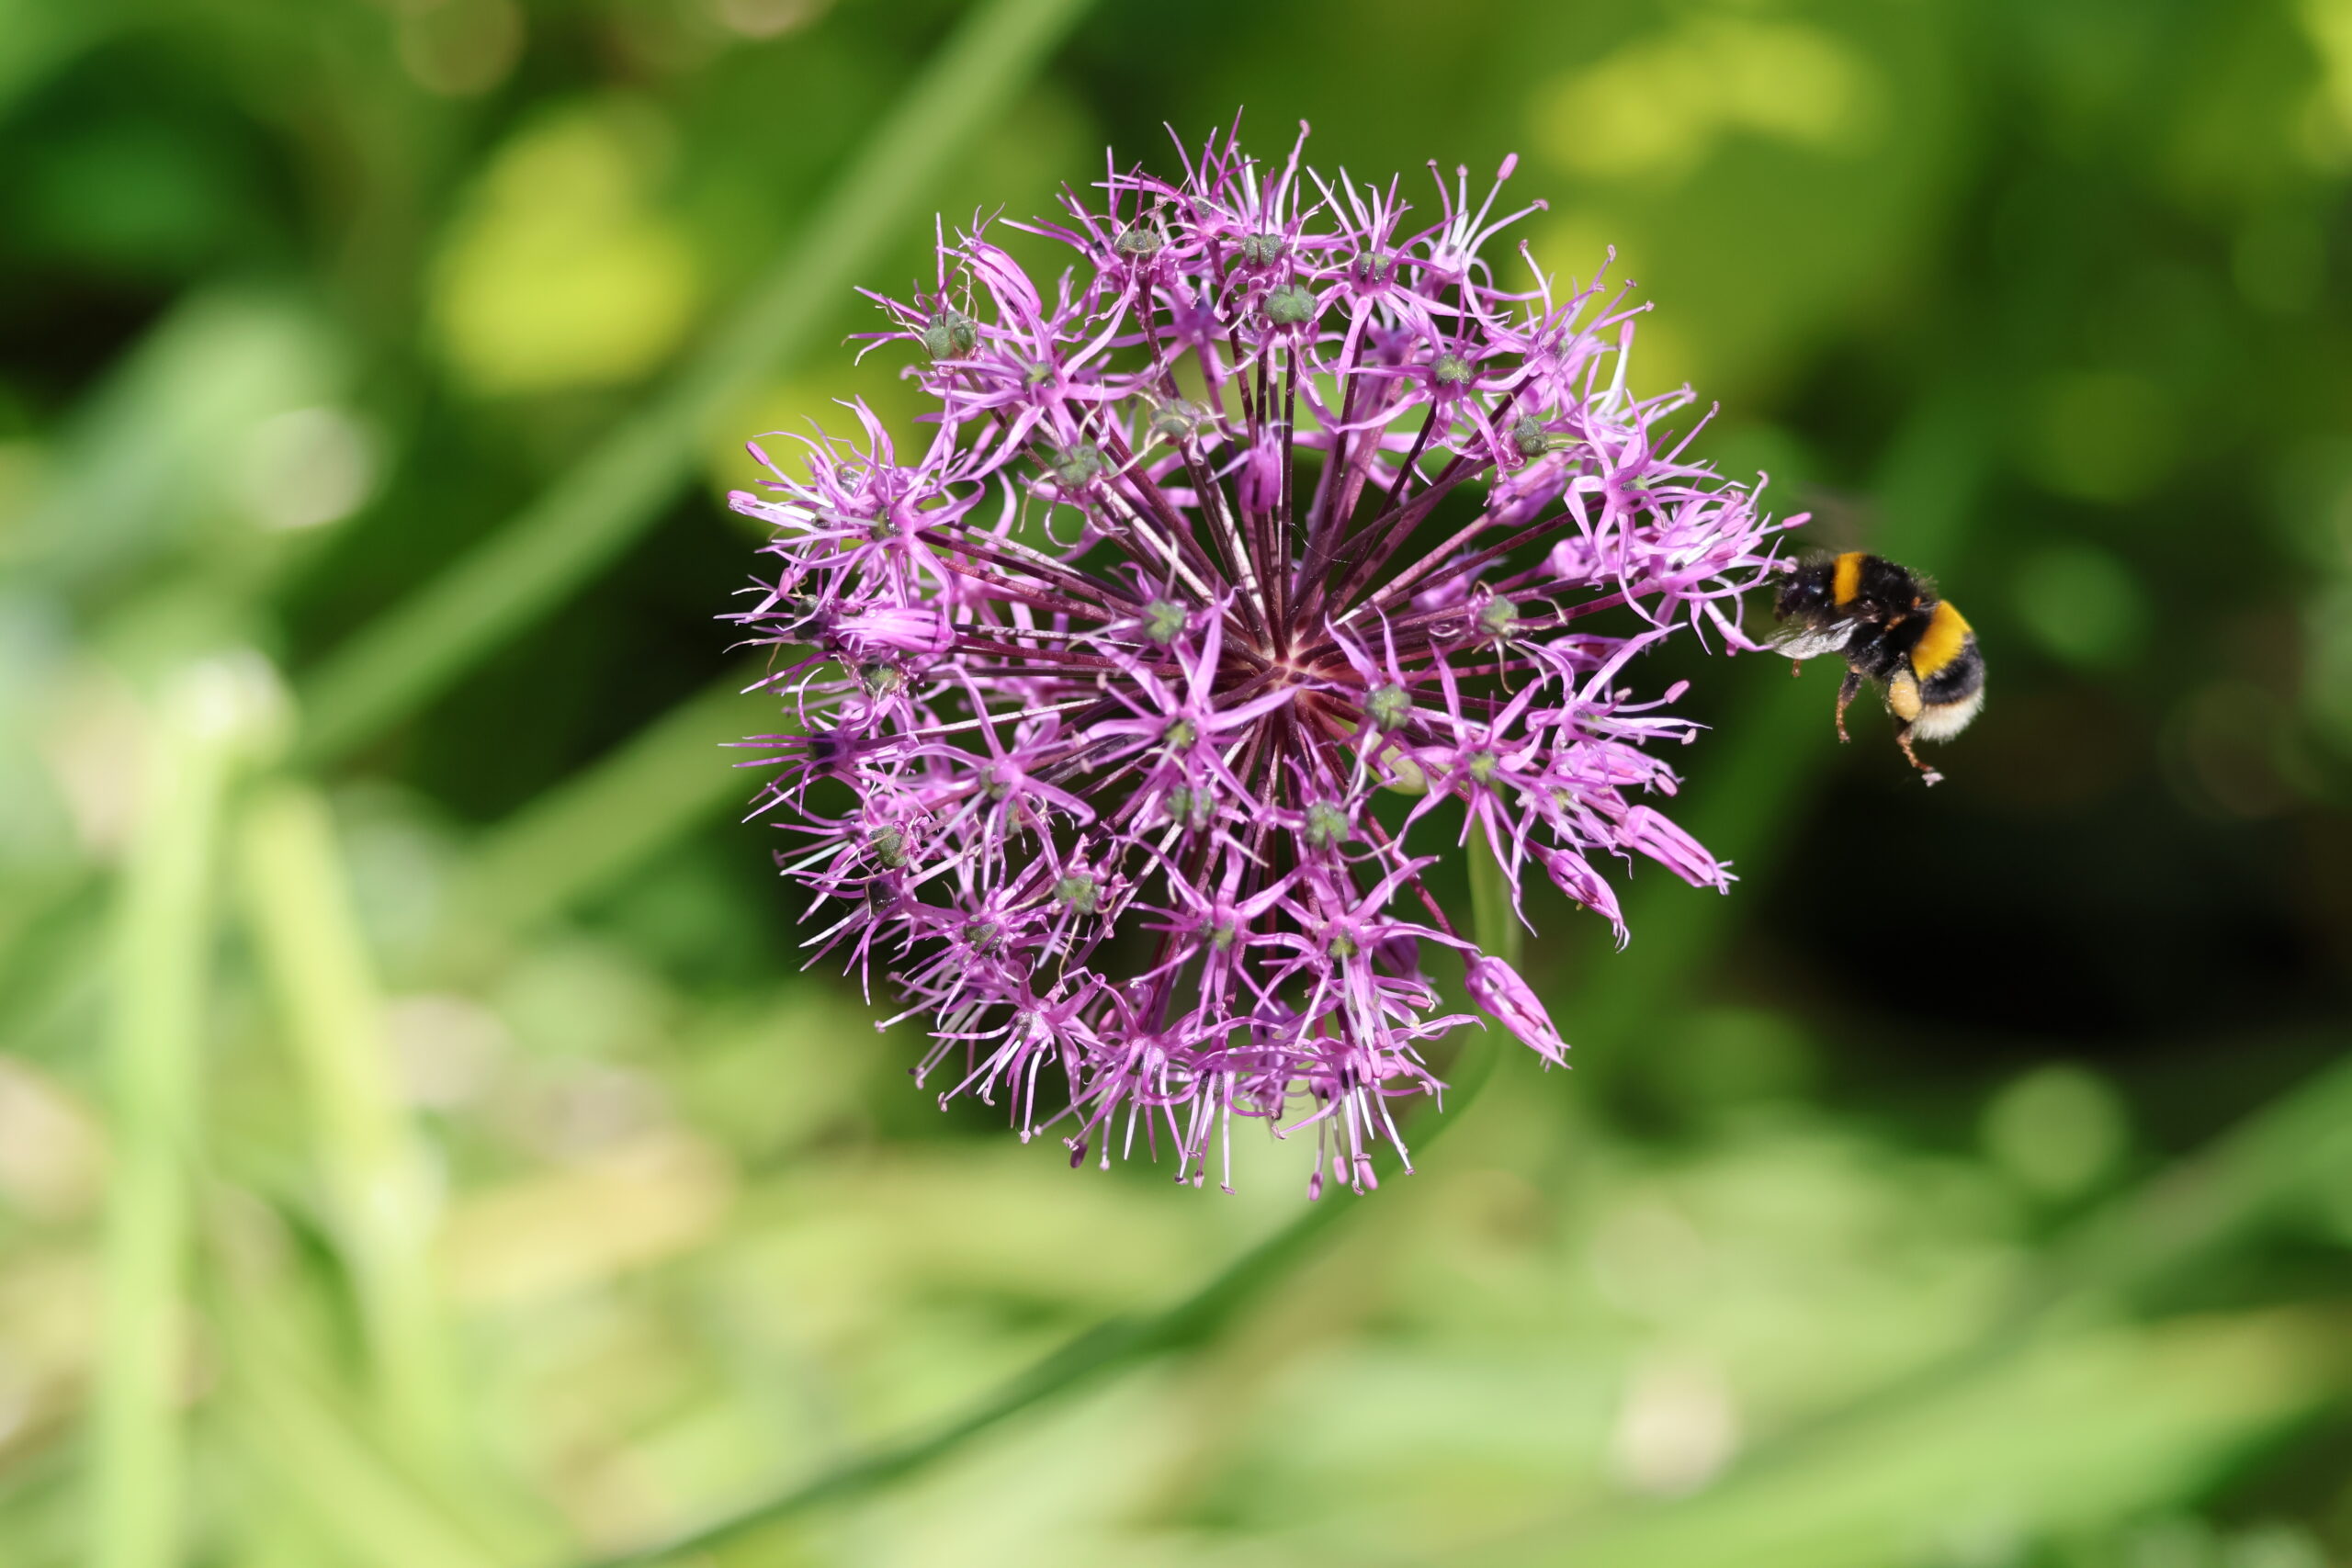
Compactness/size
The body of the R10 itself is perfectly compact and travel-sized. It’s also intuitive and easy to hold, with a fairly beginner-friendly interface.
Paired with the 100-400mm lens, like most optical zoom lenses, it’s not going to fit in a handbag; but it’s still pretty convenient compared to other cameras. Most of the hassle just comes from having to change the lenses, screw on the caps after using, etc.
Keep in mind you will likely have to purchase a proper bag to go with the camera, so that will factor into the price as well.
Final rating
In summary, the 100-400mm zoom is perfect for photographing animals, the R10 body is compact and travel-friendly, the images it produces are clean, and though it works best in daylight, it has nighttime shot potential.
Overall, I’ve had no regrets buying the Canon EOS R10 + RF 100-400mm lens and I rate the full kit a 9/10! I would absolutely recommend it to anyone getting into wildlife photography.
But remember, the only thing that matters more than the camera and the lens is the photographer themselves. And I’ve still got tons to learn 🙂
Tips to Decide on a Camera/lens (for beginner/hobbyist wildlife photographers)
If you’re thinking about buying a camera, these are just a few things I would have liked to know when I was first starting!
Firstly, note that the total price of an interchangeable-lens camera is made up of two separate parts: 1. The body/the part you actually hold, and 2. The lens/the part that captures the photo.
While the actual camera body is important, the lens has more influence overall, determining how sharp the images are, how far you can zoom in, how well it takes photos in different lighting conditions, etc.
To decide on a lens, base your purchase around the kind of photos you take/want to take. If you already have some experience with photography, look back on some of your shots. Do you take mostly landscape photos? Do you zoom up on birds a lot? Take portraits? Do you take photos at night or during the day?
Then you can research cameras that meet those requirements, and start to consider what kind of focal length (AKA the zoom) your lens should have.
For example, 18-45mm is low zoom, good for landscape or portrait shots; 100-400mm has much better zoom, ideal for capturing birds and other wildlife during the day; and any more than that is extremely good zoom, able to capture far off subjects in better detail than the naked eye.
Before you buy a camera or a lens, I highly recommend visiting a camera shop to test out the gear you’re considering. There you can get a feel for the weight, the handling, the size, the interface, form an idea of the kind of photos you’ll be able to take, and overall gain lots more confidence in your decision!
DSLR vs Mirrorless?
Having tried DSLR cameras a few times, I love the way they look and feel, but I ultimately chose to go with mirrorless for these primary reasons:
- Mirrorless cameras are typically smaller in size
- Have a faster shooting speed
- Have a more accurate viewfinder (so what you see on the screen is more accurate to how the real photo will look)
- Are more modern than DSLRs in general. From what I know, Canon has stopped producing DSLRs and moved to mirrorless entirely
A common con of mirrorless cameras is the shorter battery life. This hasn’t been a big deal for me personally, but if you can see yourself spending entire days taking photos, that might be something to consider.
DSLRs are also usually cheaper than mirrorless cameras, especially if you get them second-hand.
If you’re still having trouble deciding, here’s a few links from other people that helped me tell the difference between DSLR & mirrorless cameras and decide which one was right for me:
– Mirrorless VS DSLR – Pros and Cons for Photo and Video
– Mirrorless vs DSLR Cameras: Which is Right for You?
– DSLR to Mirrorless – A year’s review
Final thoughts
Those are my thoughts on getting into wildlife photography and specifically why the Canon R10 camera + 100-400mm lens has been a great fit for me! Expect to see some cool new photos in the photo gallery very soon. 🙂
Hope this was useful to you & thanks so much for reading!
Canon EOS R10 + RF 100-400mm Lens Review (How to Choose your First Camera) Read More »